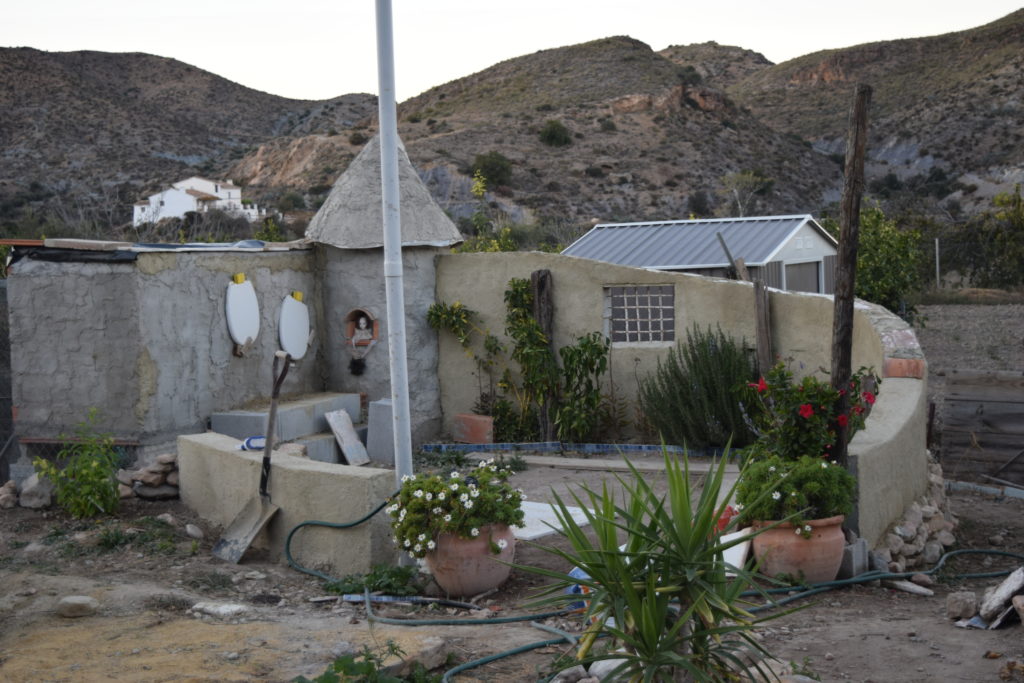
Having a septic tank buried in the garden is just one of the many joys of living in the countryside. Planting anything above it is impossible, so I decided I would make a little circular patio next to the Chicken Palace and plant the edges with sweet smelling herbs. The stink pipe would be cunningly disguised and all would be well.
Last time we visited the Chicken Palace, you may remember I began work on the retaining wall of this little patio.
The summer intervened. Forty degree heat does not lend itself to bricklaying, so I occupied my time doing other things until the autumn. One of the other things was planning the next part of the patio’s evolution.

Sayalonga’s peace monument was my inspiration
I decided that I wanted to shield the patio from the wind that whistles up the valley and to enclose the area partially, to make it more like a little room in the garden. Inspired by the peace monument on the way up to our home in Malaga province, I designed a gentle curved wall that would start just below the pointy roof of the palace and sweep down to knee height. I wanted a low wall at the front, so that we could sit on it when playing boules on balmy summer evenings. I ordered blocks, sand and cement and waited eagerly for them to arrive.
When I had everything assembled, I built the whole wall without mortar and labelled each block with masking tape. The little labels showed which course of blocks and where along the row the individual blocks belonged, with arrows to show the position of the window grid. There would have to be some irregular gaps and I needed to know how I was going to fit in the old window bars I had saved from the barn. I would unbuild the wall carefully and then rebuild it with mortar, confident that it would work.
Even I thought I must have finally gone totally mad as I made myself this extra work, but I can honestly say that it paid off. I would recommend it to anyone who is not expert enough to build a folly without batting an eyelid. A extra benefit was that I had already moved the blocks to where they were needed.
Once all the blocks were laid properly, I went around filling in the gaps with fragments of old bricks, pieces of marble, old tiles and anything else that needed to be hidden away out of sight. It was all going to be rendered, so it really did not matter.

So far, so good and I didn’t kill any of the plants doing it
I soon had virtually all the wall rendered. I ran out of a batch of mix and energy at much the same time and decided to finish the last little bit when I started the next phase of works.
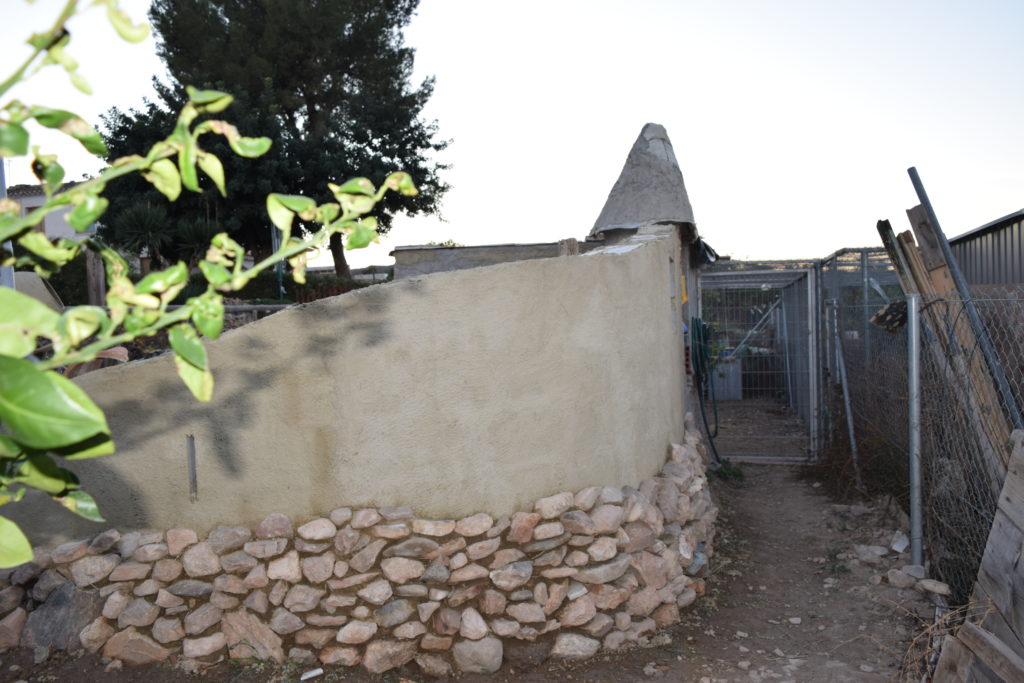
The next job was to face the lower part of the wall with the stones that had originally been there. I used a slightly stronger mix and a little drier than I would normally use, making sure not to have it right out to the front face. Once it had gone off a little, I scooped out any obvious big blobs and gave the whole thing a good scrub with a wire brush.

The back of the wall with stone facing on the bottom
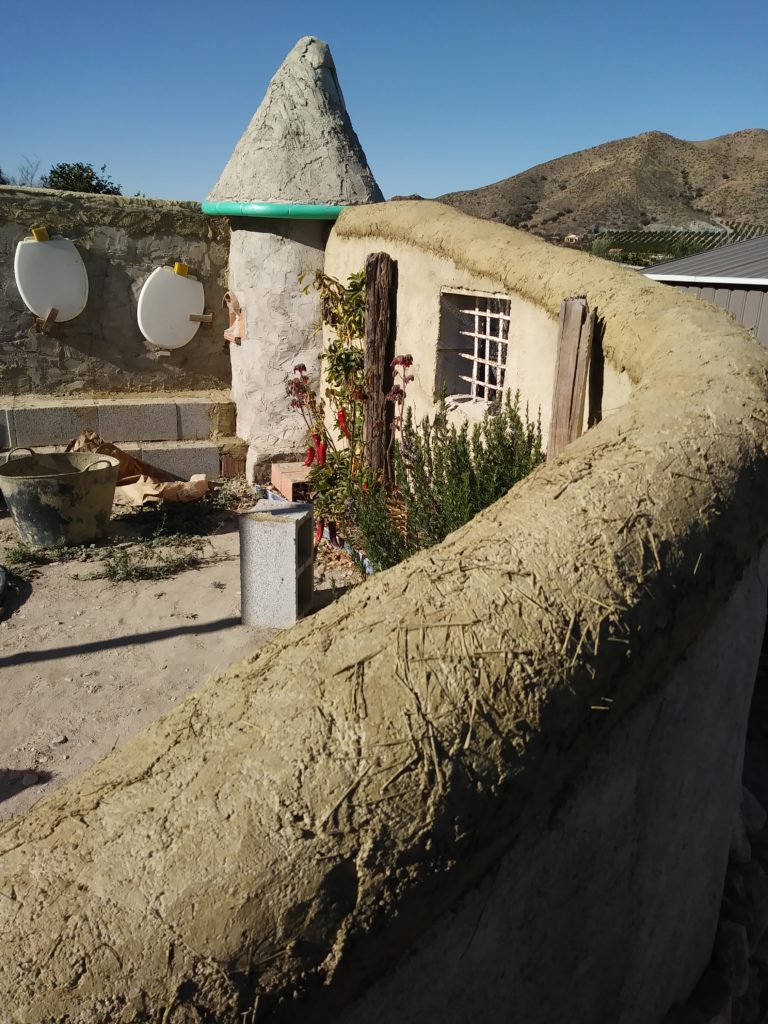
I wanted the wall to have a sort of mushroom cap profile, so I got Geoff to screw some chicken wire in a loose arch on the top of it. We stuffed it with more bits of detritus to support the shape a little and then I experimented with rendering it. A thin mix just fell through the mesh. A thick mix was heavy, squashed the mesh out of shape and was difficult to work with.
It suddenly occurred to me that if I added chopped dry grass to the render, it would bridge the holes in the mesh, allowing me to use a thinner, wetter , more easily worked mix. I was about to congratulate myself on my innovative genius when I remembered wattle and daub walls with horse hair and straw incorporated, probably for similar reasons. At least I had not re-invented the wheel!
I have to say that I was delighted with how well it all went together. As usual, it is just another step along the way to fulfilling my mad vision for this part of the garden, but with each step we get closer to the finished product.

The roughness will be hidden when the coloured render goes on top


You are clever. I will come and see it for real one day, just don’t know when. Big Hugs xxx
I shall be so chuffed when you finally do 😀 xxx