Our first olive crop yielded fifty-four litres of gorgeous, pale golden green oil, but we had some late fruit on one or two of the trees. It would have been too embarrassing to toddle off up to the press with the last dribs and drabs, so we decided to bottle them.
It is a fairly straightforward process, but I complicated things by breaking my ankle halfway through. By the time I had caught up with myself, it was far too late to share details to help anyone else with this harvest season, so I am writing now (mid May) while it is all relatively fresh in my mind and will share it in time for the next.
First, pick your olives. Most of our last knockings came off high branches we pruned off and then picked clean. More of olive picking here and here.Our very last pickings amounted to a mop bucket filled right to the top.
Second, prick or slash the skins of your olives. I found trying to score the skins of the olives very tedious and fiddly and the juice stained my fingers badly. Picking them out one by one to prick them with a fork was slow, fiddly and a clear first step on the path to madness. I found an easier way, which I share with you for the sake of everyone’s sanity:

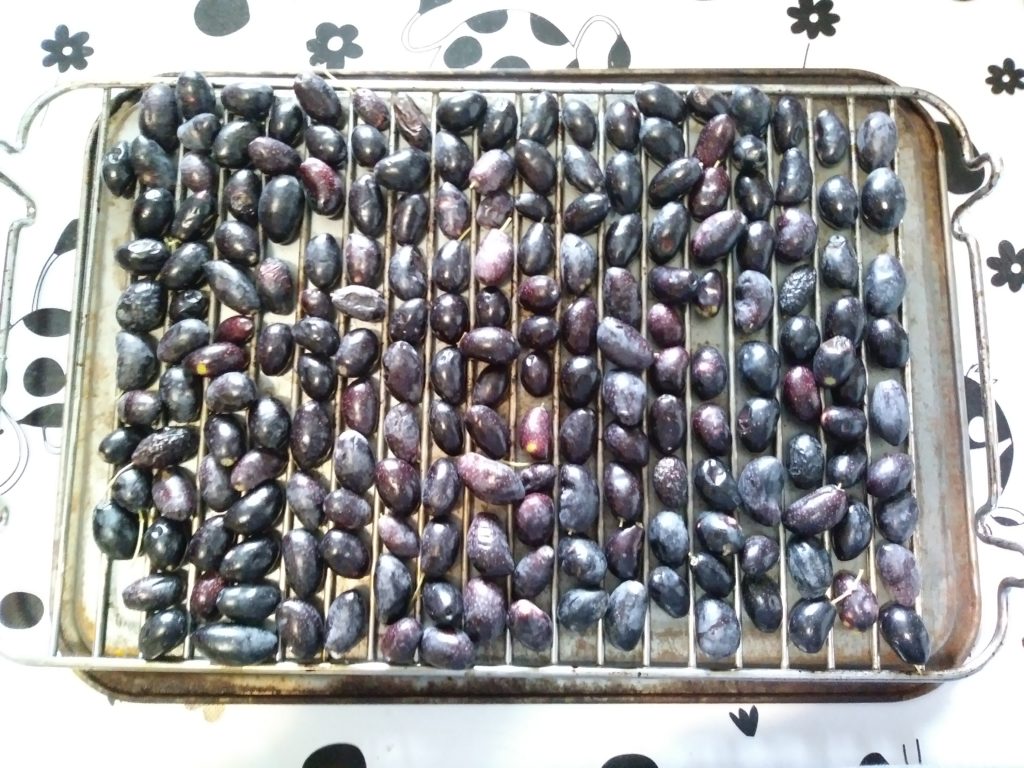
Spread olives over the grill insert placed on a flat surface. This stops them rolling about.

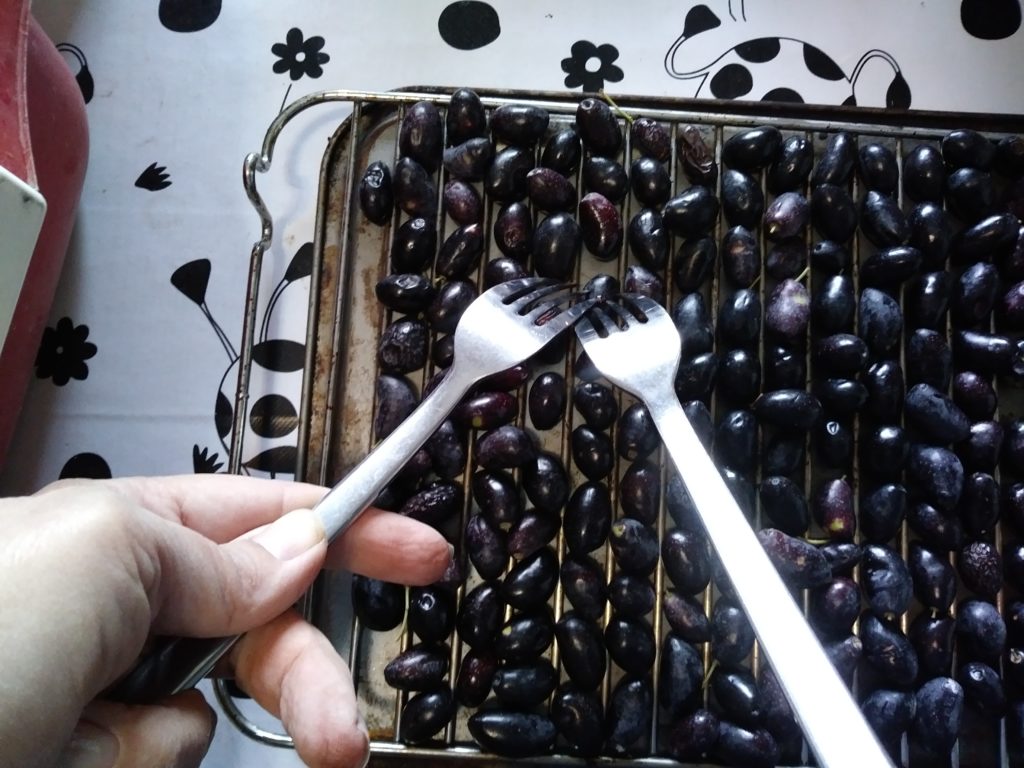
Use one fork to hold the olive down while you prick it with another one. You can work up quite a lick of speed.
Next, cover your olives with water. Change the water every day for a week. Ours fitted perfectly in the little sink in the barn, which we do not use much. We were able to pull the plug out and refill the sink each day with minimal fuss.
Then choose your method of bottling. There are several variants, with or without vinegar, for example. This article gives a fair set of options. We chose to go for bottling in brine, but added a couple of cloves of garlic to a few jars, for variety.
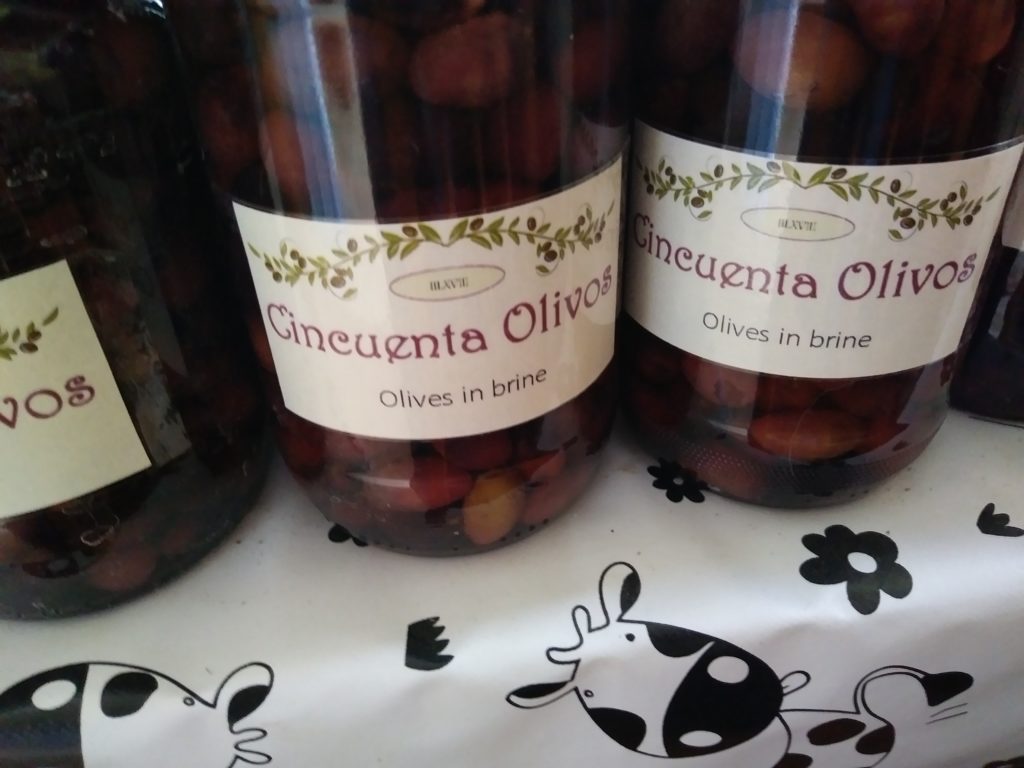
Have fun with labelling your olives. A nice row of neatly labelled jars is most satisfying!

Most satisfying!
The olives have to be left for a while before they are ready to eat. Ours are looking glorious in the larder, but it will be a while until we know whether with or without garlic is better.

